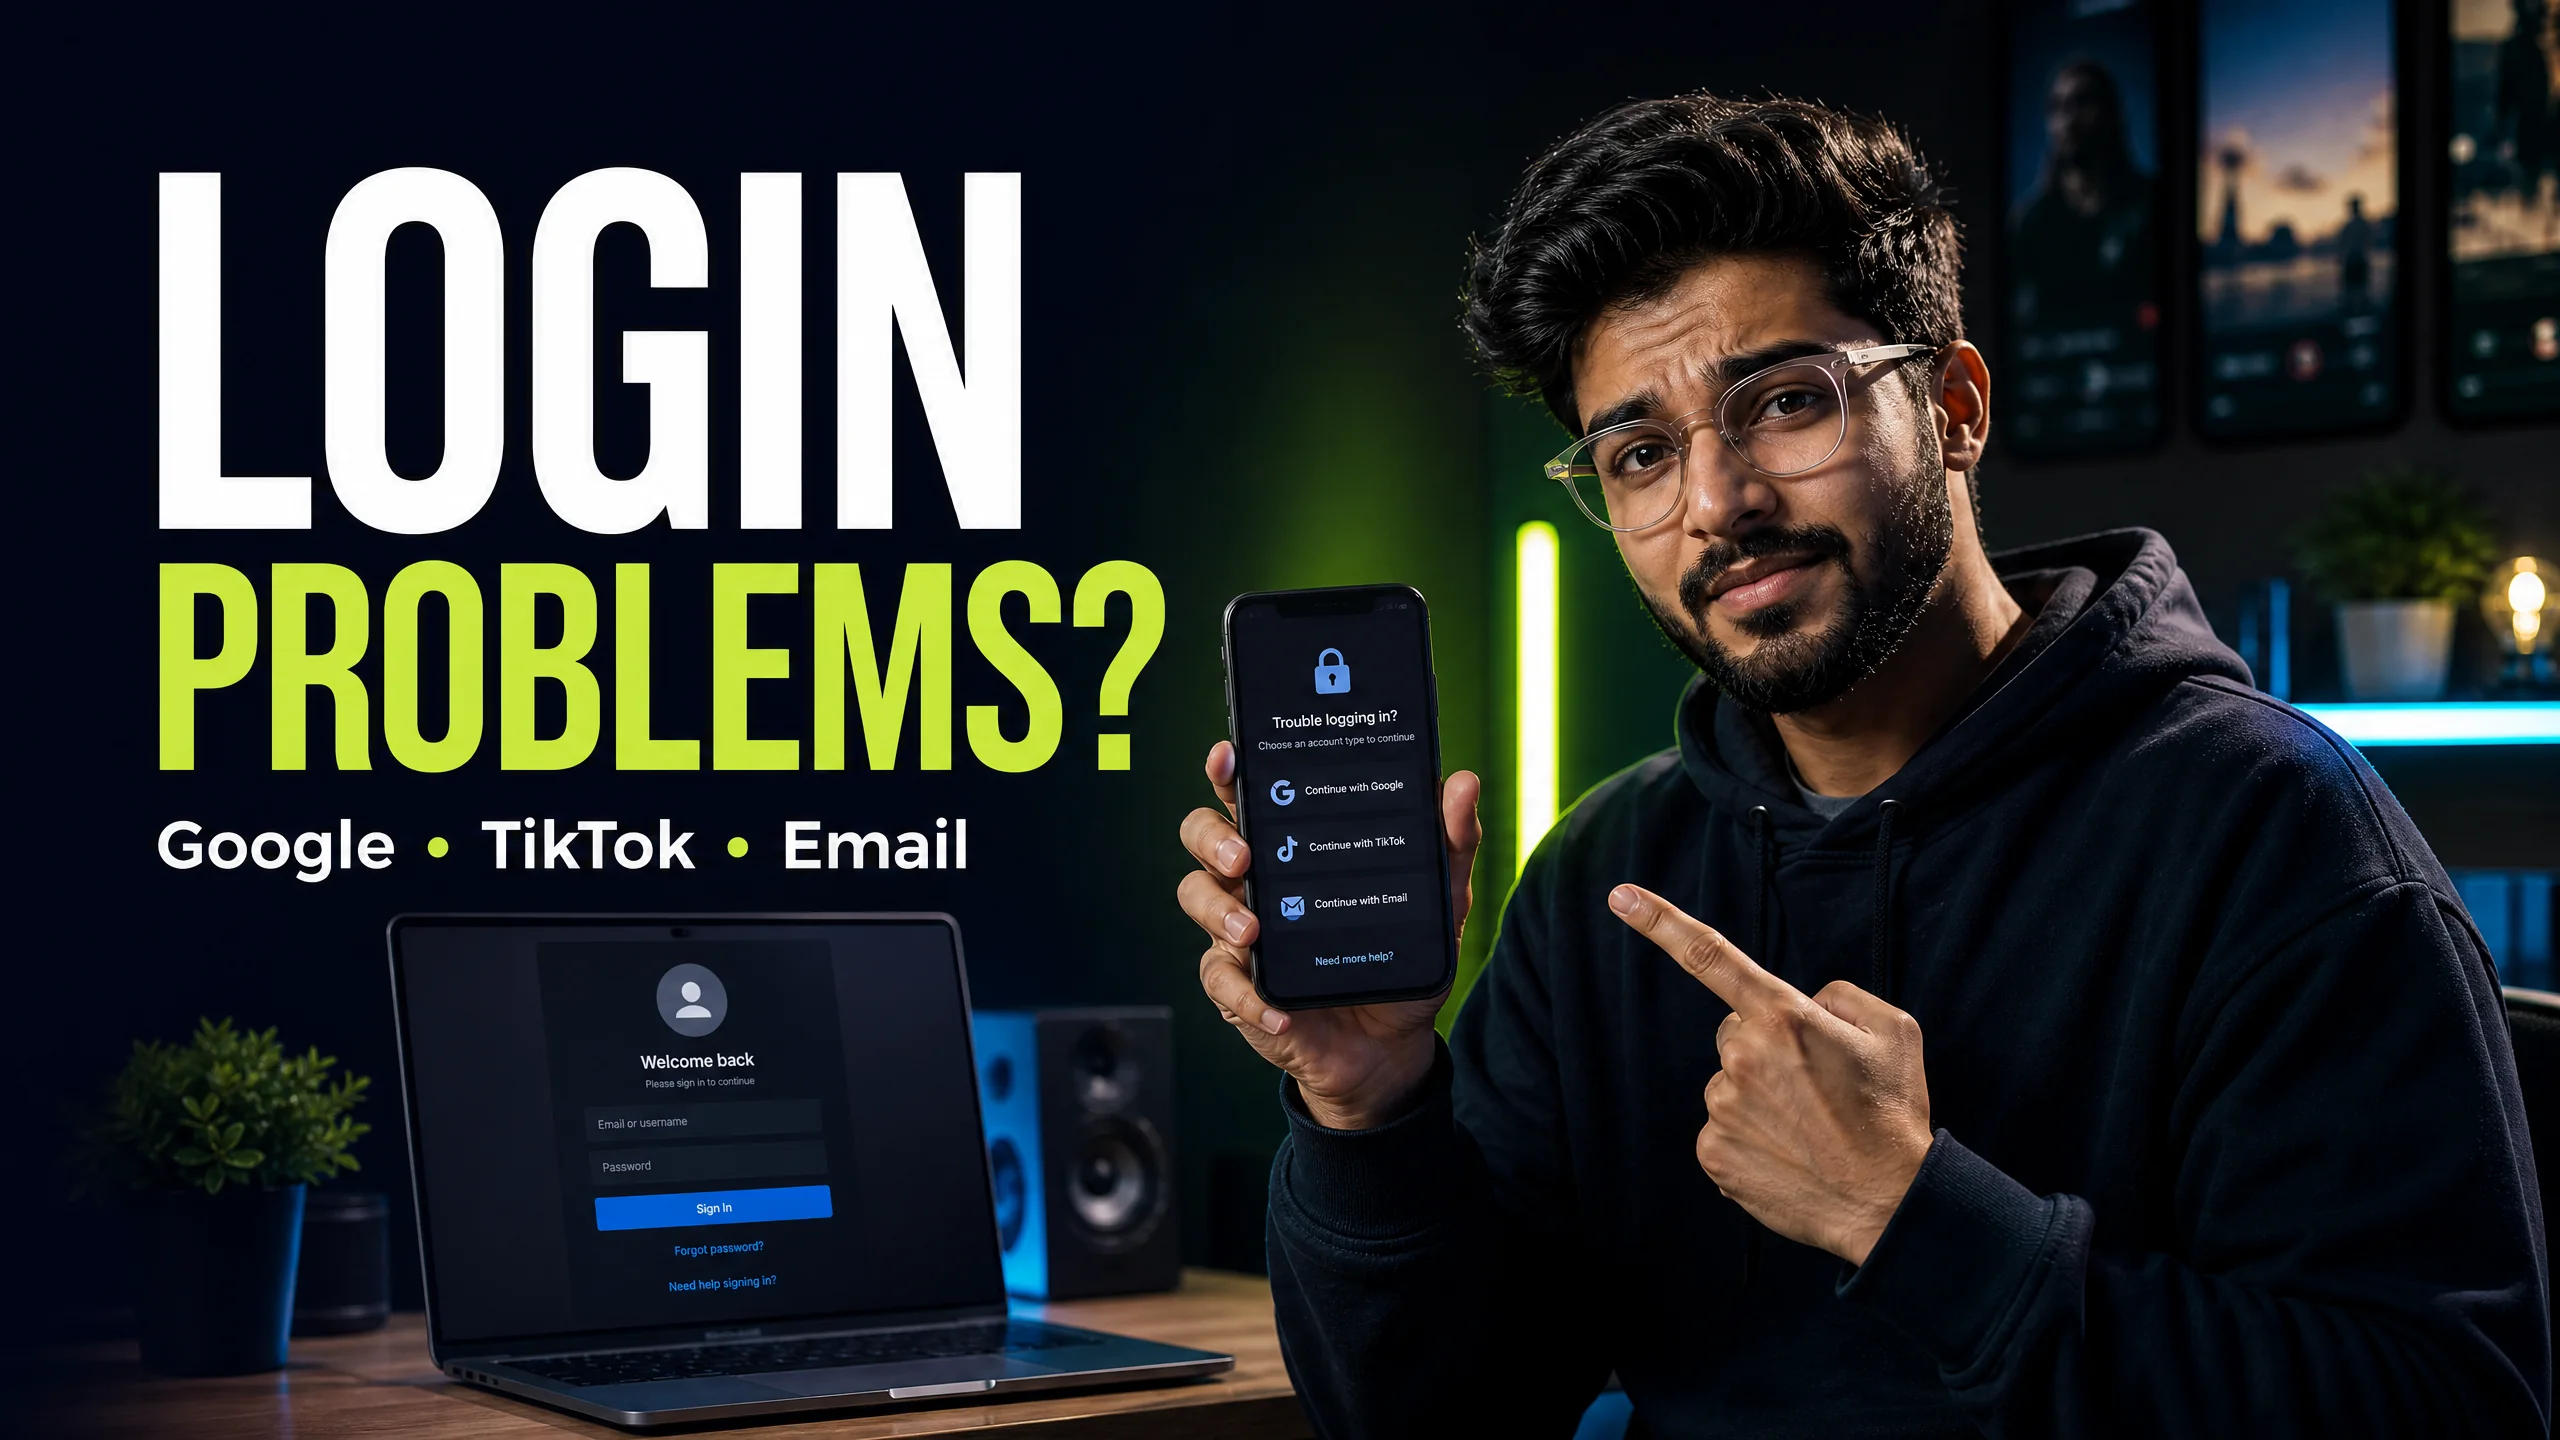
CapCut login problems: Google, TikTok, email, PC and QR fix
Use the right account method and fix common access problems without sharing sensitive credentials.
Read guide → By Rahul Verma·
I know that starting a new video editor feels overwhelming when you see dozens of complex buttons. If you want to use CapCut effectively as a beginner, you must focus on the three core stages of the workflow: importing, trimming, and exporting. First, tap the "New Project" button and select your raw video clips from your gallery. Next, drag the timeline head to the exact moment you want to cut, and tap the "Split" icon to remove the boring parts of your video. Finally, you need to add a basic text or auto-caption layer to keep your viewers engaged. Once your 30-second or 60-second clip looks good, tap the export arrow in the top right corner. You must always select 1080p and 60 frames per second before saving to guarantee a crisp, smooth upload. Avoid touching advanced color grading or keyframes until you master this basic sequence.
You download the app, you open the interface, and you instantly freeze. The timeline looks complicated, and you have no idea where to start. I have trained hundreds of creators who felt exactly the same way.
You do not need to attend a film school to create viral content. You just need to understand the basic mechanics of the timeline. I will walk you through the exact workflow that professional editors use to build videos from scratch.
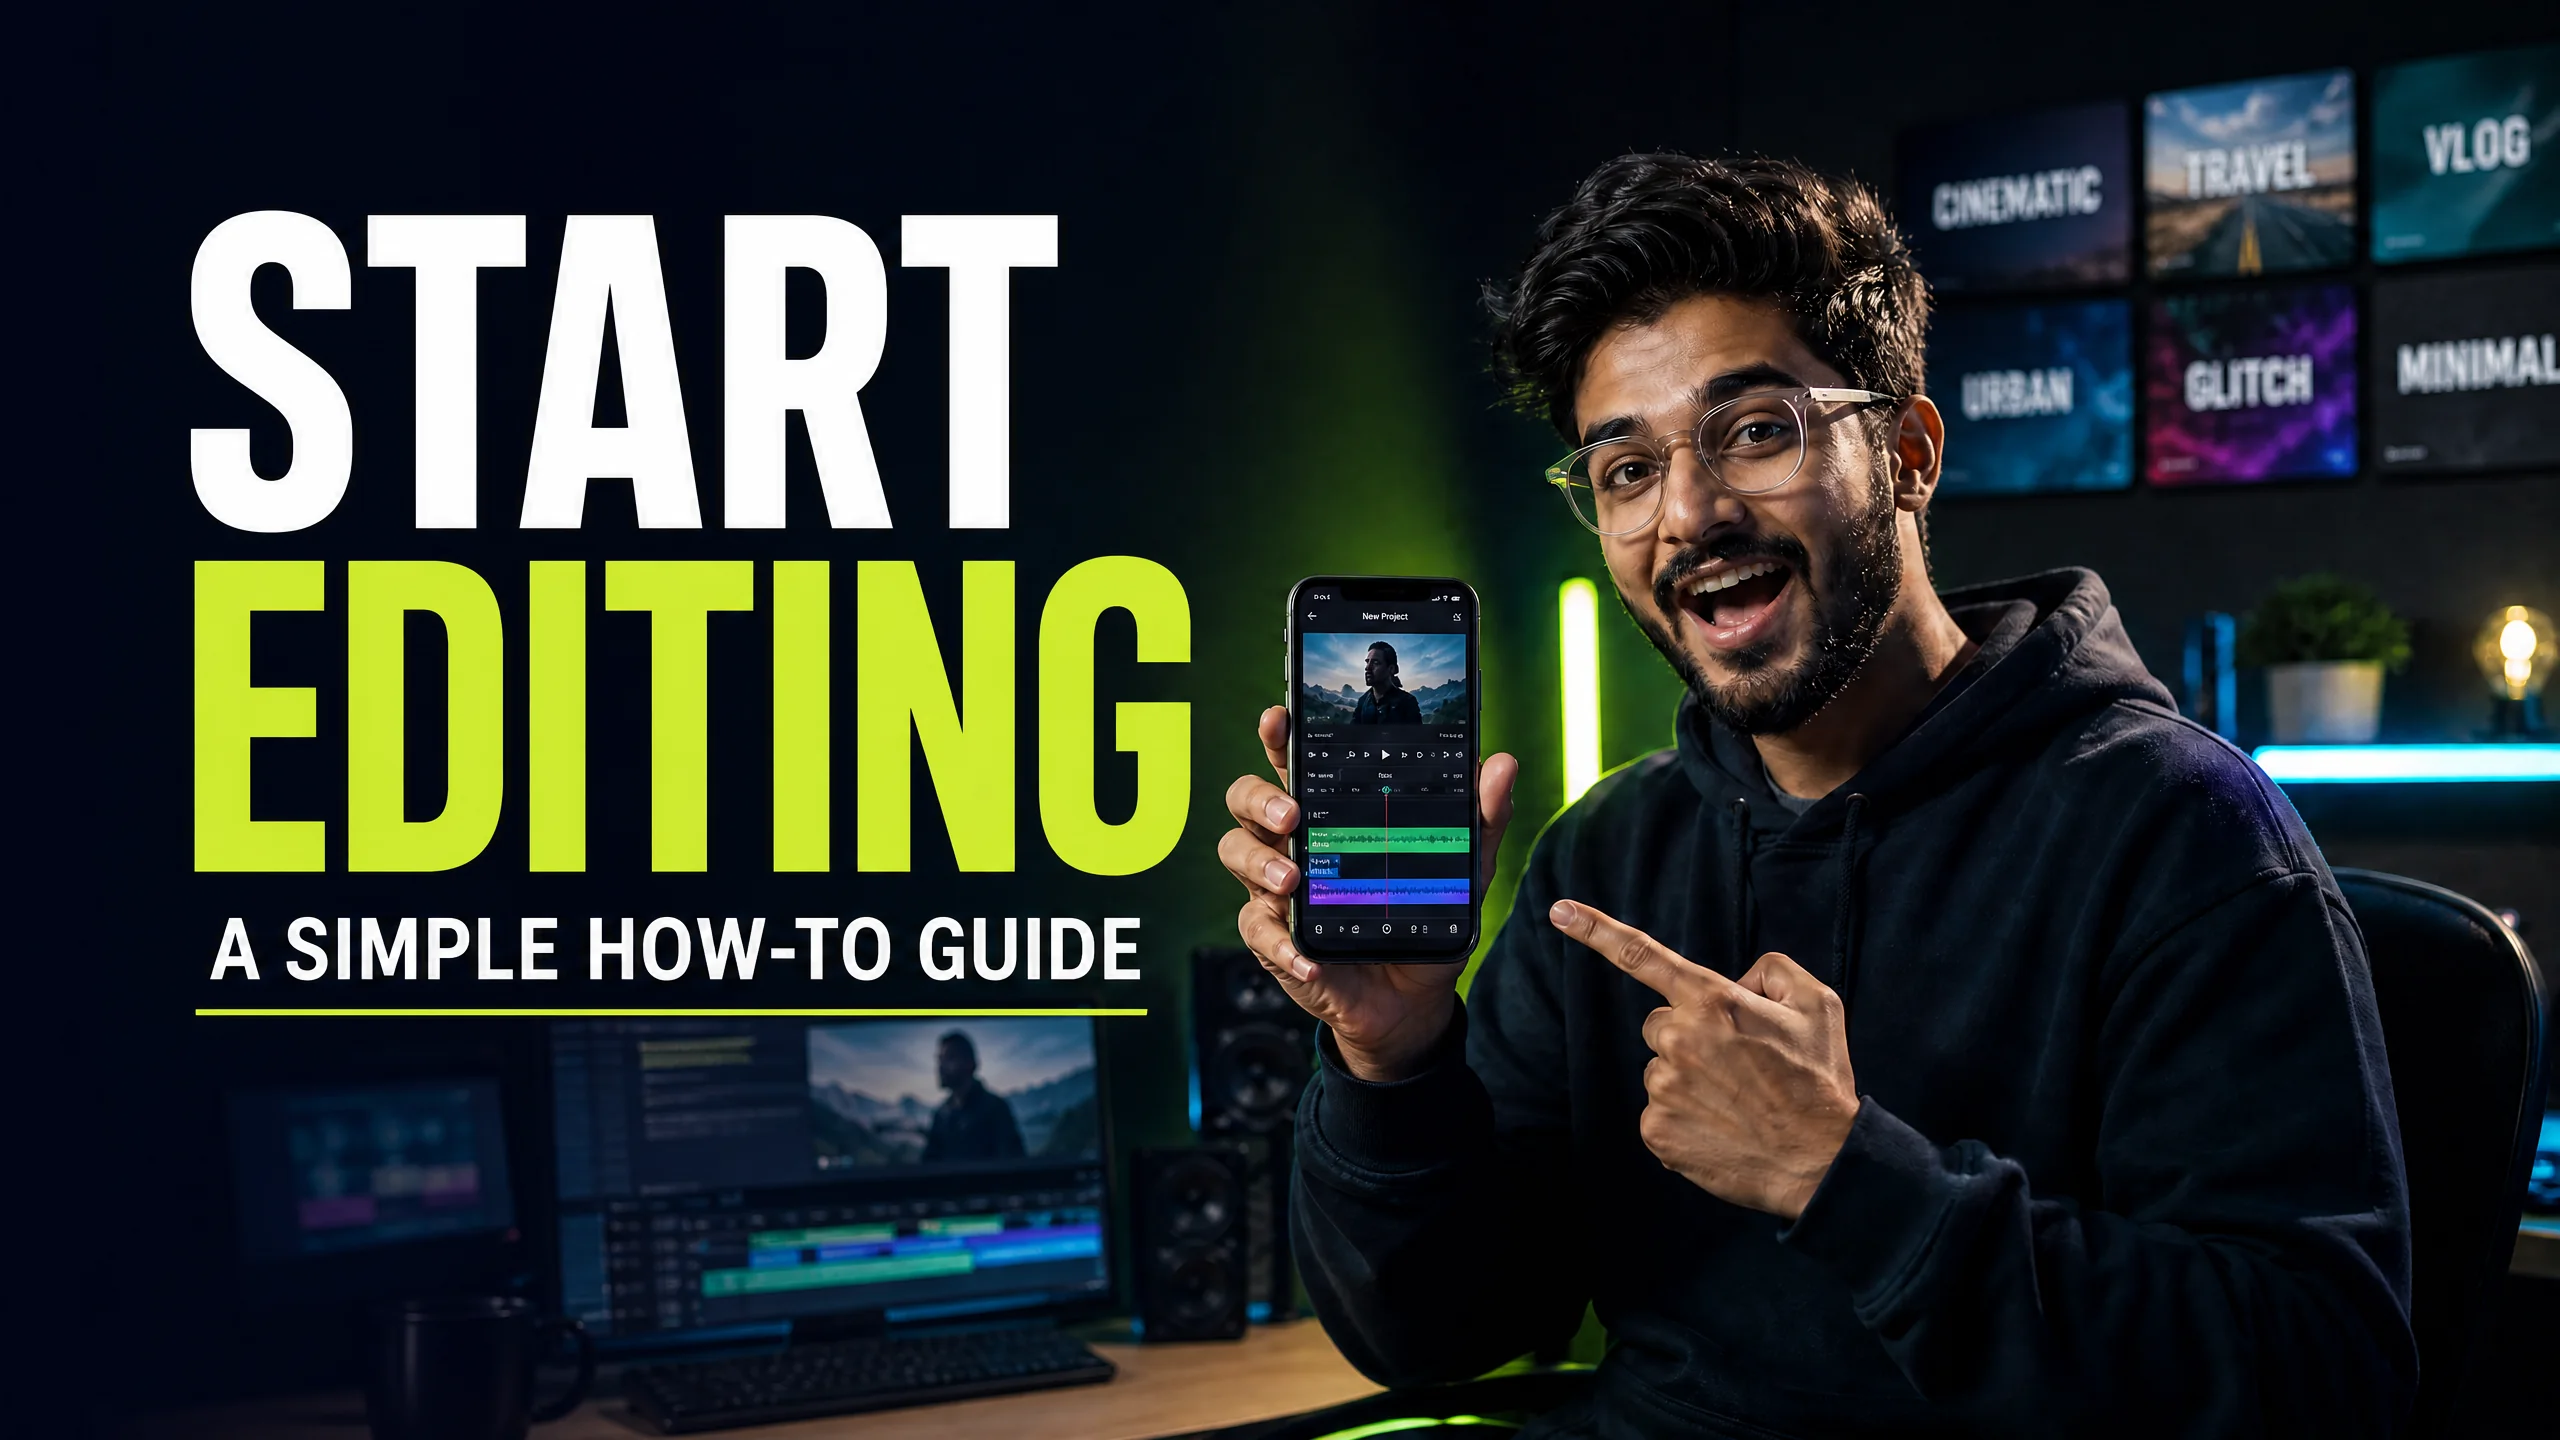
The digital landscape moves incredibly fast. If you rely on slow desktop software, you will miss trending opportunities. CapCut is the most powerful mobile and desktop editing app because it integrates directly with modern social media formats.
You have access to thousands of trending audio tracks, auto-captions, and smooth transitions in one place. If you learn how to use these tools properly, you will cut your production time in half.
You must approach every project systematically. If you try to add effects before you trim your clips, your video will become a messy disaster. I always force my clients to memorize this specific editing order.
| Editing Stage | Primary Action | Required Tool |
|---|---|---|
| 1. Assembly | Placing clips in chronological order. | Import / Add Media |
| 2. Refining | Removing dead air and mistakes. | Split and Delete |
| 3. Polishing | Adding text, audio, and color. | Text / Effects / Audio |
Everything starts on the main dashboard. Tap the big blue "New Project" button. Your gallery will open, allowing you to select multiple videos and photos. Tap the circles in the top right corner of each file to select them in the exact order you want them to appear.
You must set your canvas size immediately after importing. If you are creating a Reel or a TikTok, you need a vertical canvas. Tap the "Ratio" button at the bottom menu and select 9:16. If your video is horizontal, use your fingers to pinch and zoom the clip until it fills the vertical frame.
This is where the actual editing happens. Nobody wants to watch you breathe or stare at the camera for 3 seconds before you start speaking. You need to ruthlessly cut out the dead space.
You spent 45 minutes editing the perfect video. Do not ruin it with terrible export settings. Before you hit the save button, you must look at the numbers in the top right corner of your screen.
I always recommend tapping that number block and manually setting the resolution to 1080p and the frame rate to 60. This guarantees a buttery smooth, high-definition file. If you shoot your videos in 4K, you can select the 4K option, but be warned that the file size will be massive and take much longer to render.
Yes, the core editing features like splitting, trimming, and basic text are entirely free. However, if you want to use advanced transitions or premium AI features, you will need to purchase a CapCut Pro subscription.
You can delete the default watermark clip manually. Scroll to the absolute end of your timeline, tap the short black clip that displays the logo, and press delete before you export the project.
If you export in 1080p but the video looks blurry after uploading, the problem is your app settings. You must open the Instagram or TikTok settings menu and toggle on the "Upload at Highest Quality" option.
Stop struggling with free version limits. Get private access to CapCut Pro today.
View Private Plans →Senior Video Editor & Founder of BuyCutPro. Helping Indian creators optimize post-production workflows.
Connect on LinkedIn
Use the right account method and fix common access problems without sharing sensitive credentials.
Read guide →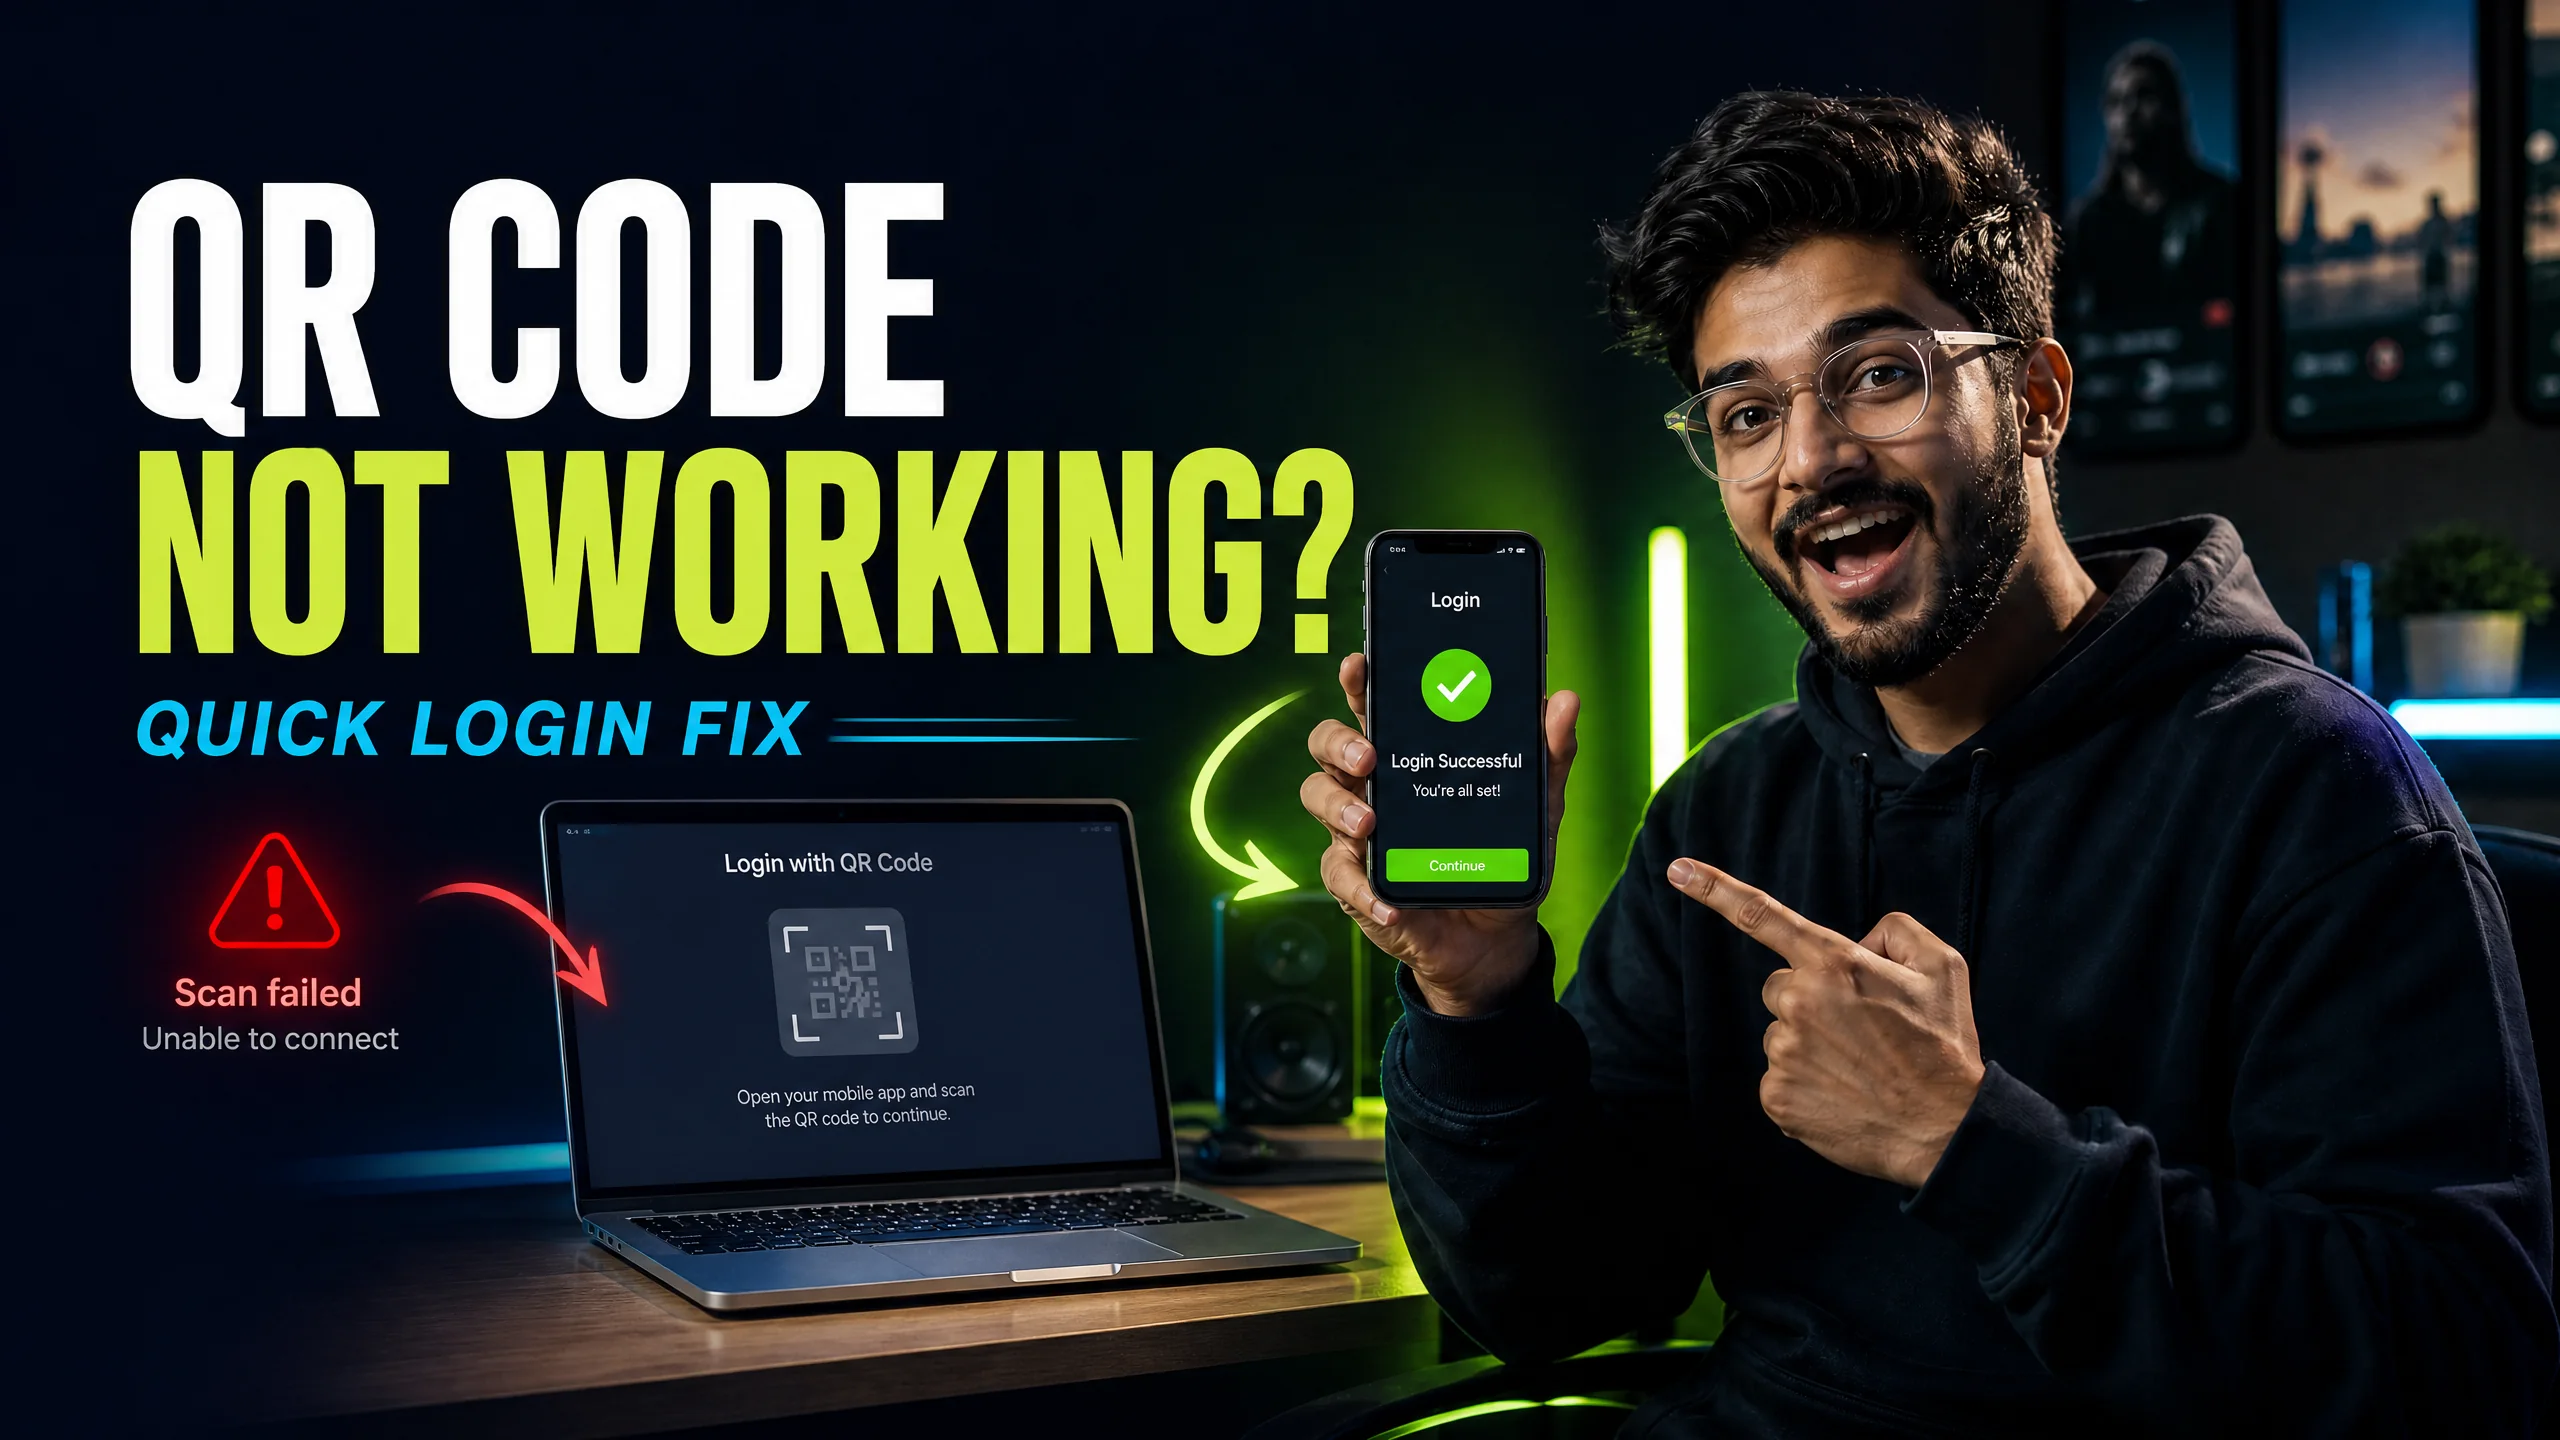
A focused troubleshooting checklist for missing codes, failed scans and wrong accounts.
Read guide →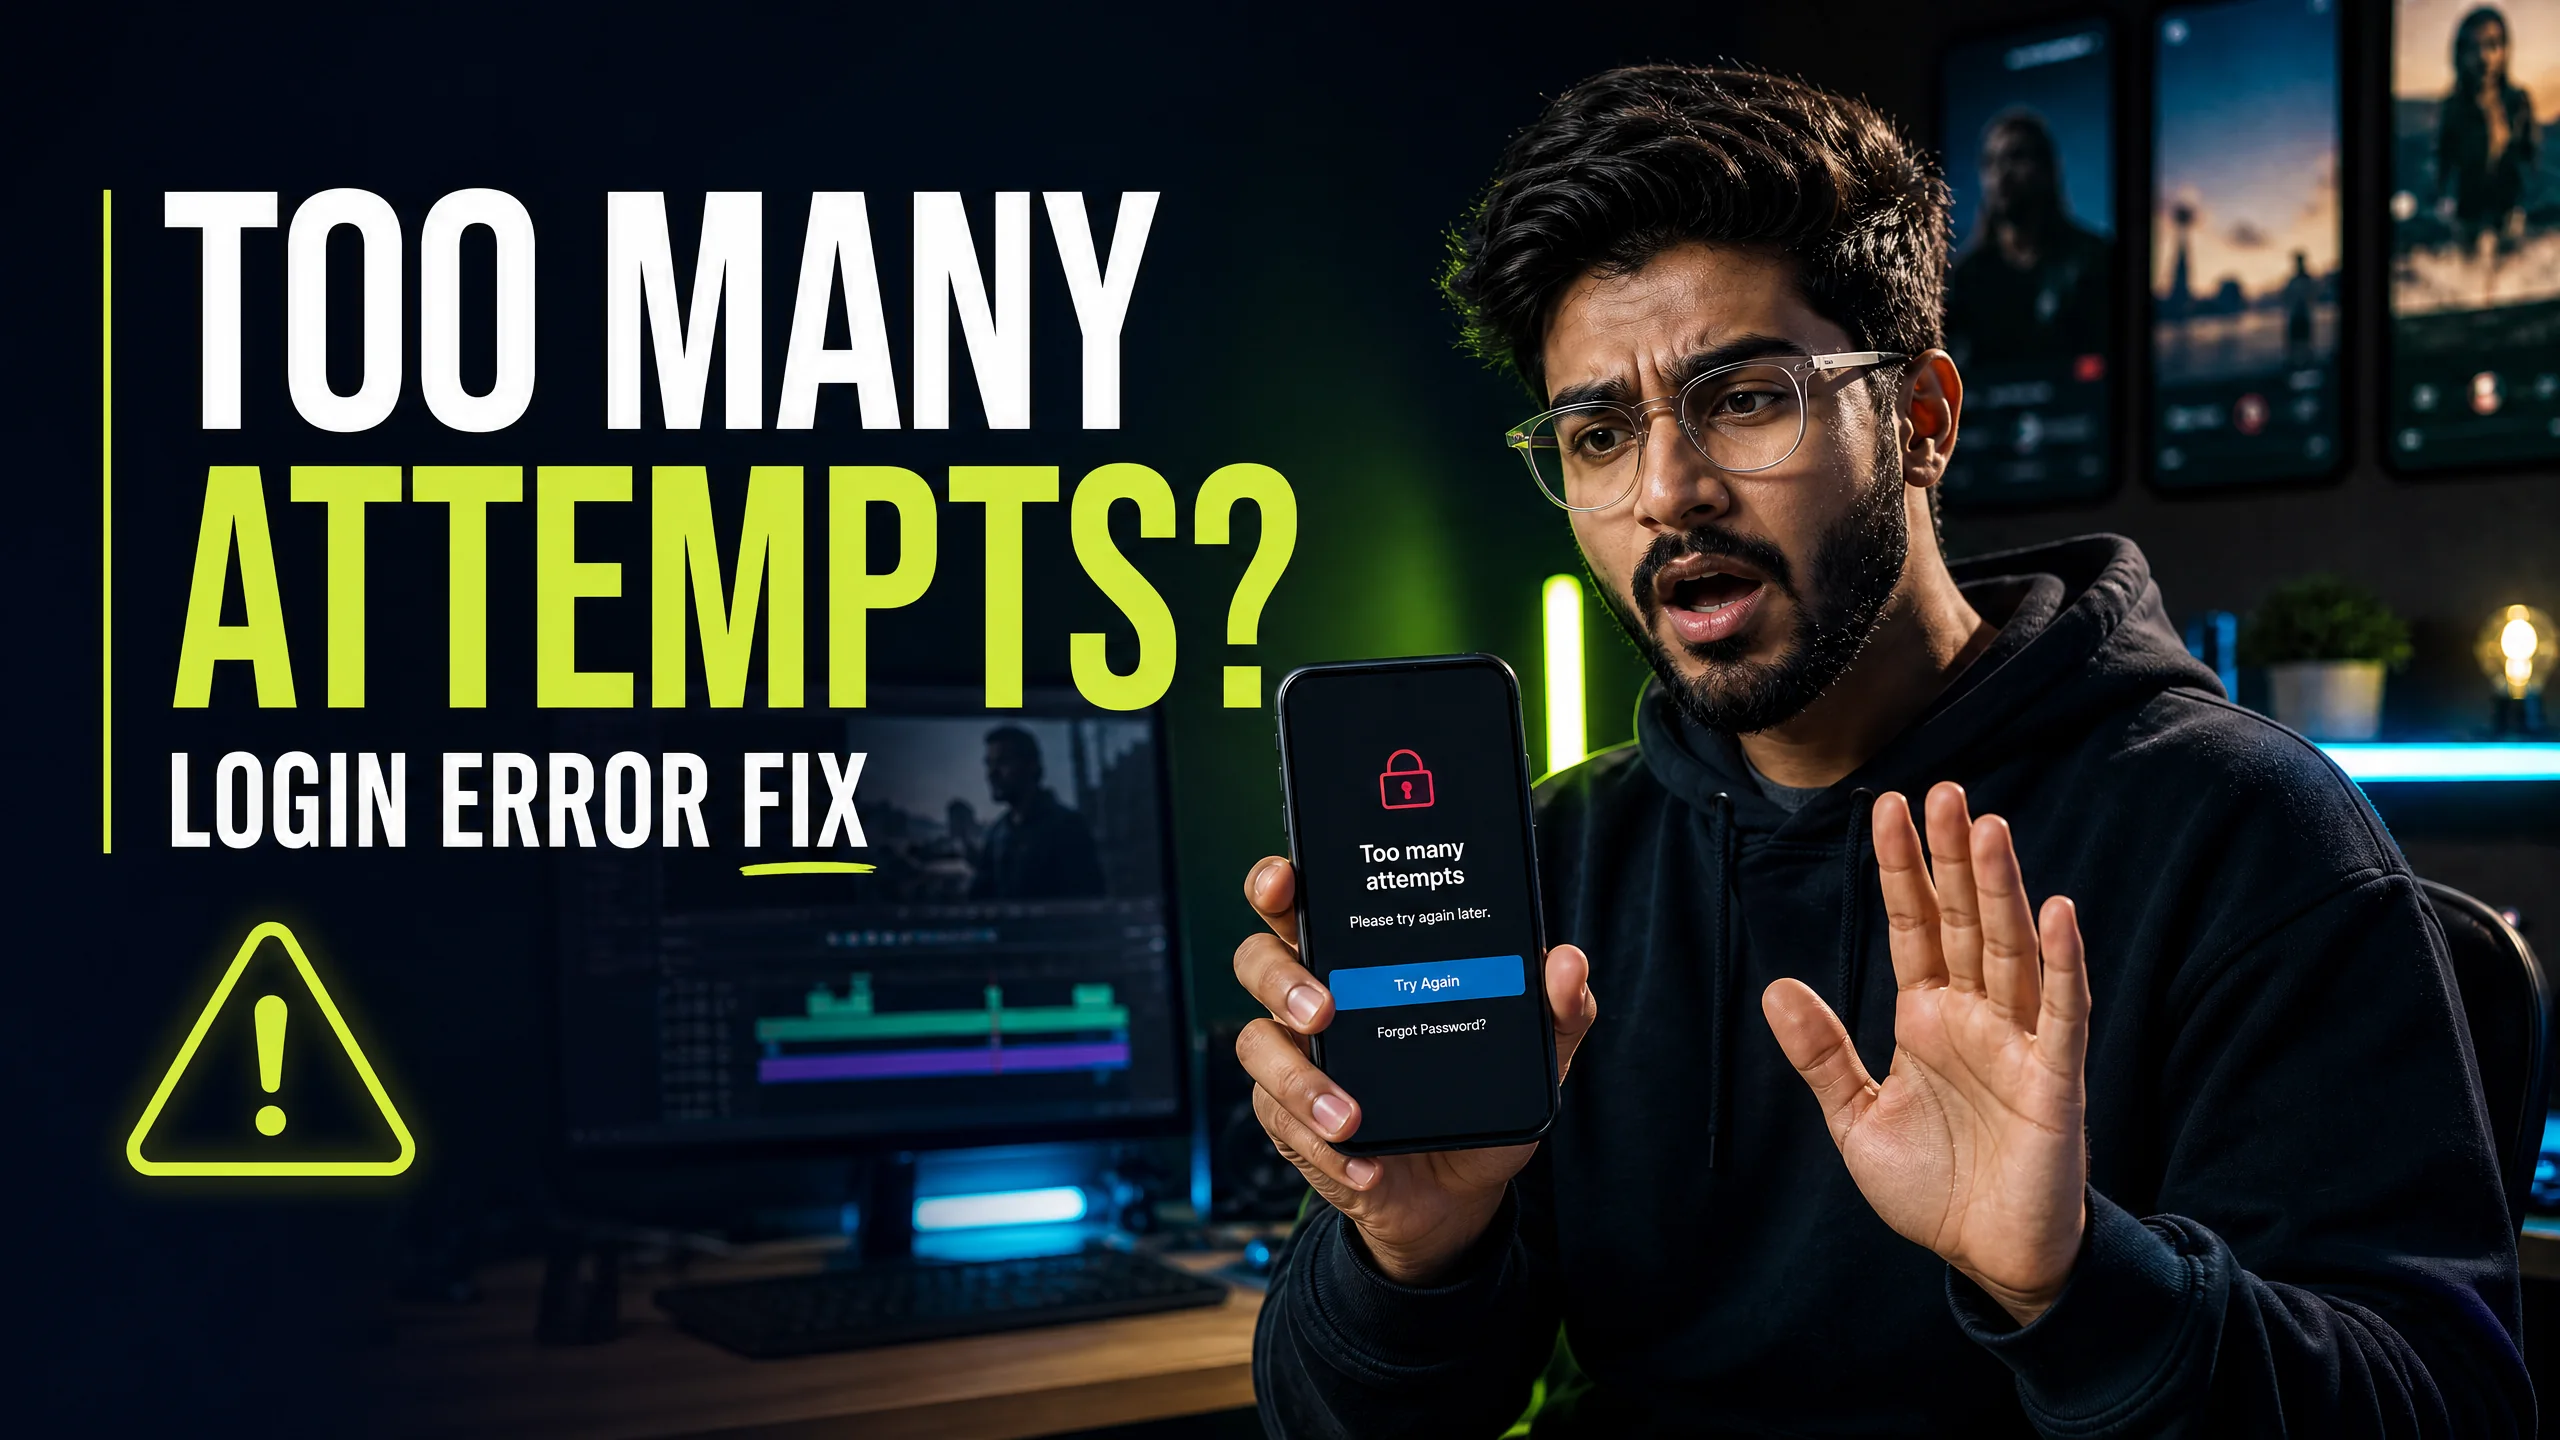
Stop the retry loop and use a cleaner account, network and device checklist.
Read guide →
Find a template, open it safely, replace the media and export a video that feels like your own.
Read guide →